If you’re a vaping enthusiast, you know that a smooth and flavorful vape experience depends heavily on the atomizer. This tiny component is the heart of your device, responsible for heating your e-l iquid and turning it into vapor. But sometimes, your atomizer may fail, leaving you with burnt tastes, weak clouds, or even device errors. In this guide, I’ll show you how to identify issues, repair or rebuild your atomizer, and maintain it for optimal performance. Whether you’re a beginner or an experienced vaper, understanding your atomizer is key to keeping your vape device running smoothly.

Understanding Your Vape Atomizer
What is an atomizer on a vape?
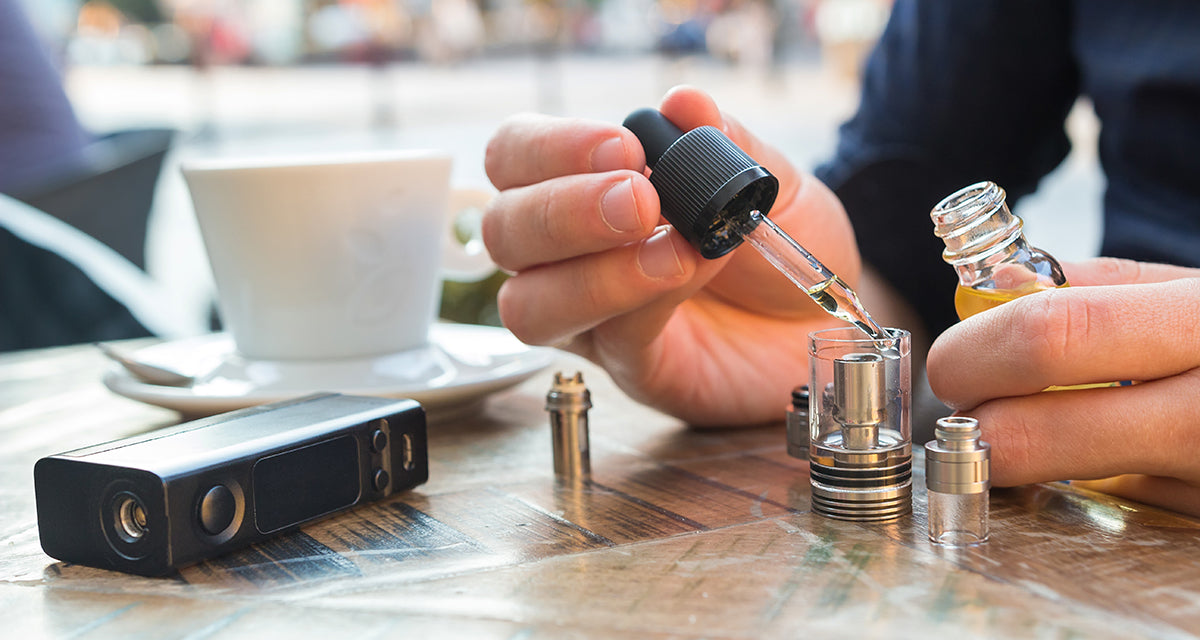
An atomizer is the part of your vape that heats the e-liquid to create vapor. Most atomizers consist of three main parts: the coil, wick (usually cotton), and housing. There are several types of atomizers:
- Coil-only atomizers – basic heating elements for disposable or refillable vapes.
- RDA (Rebuildable Dripping Atomizer) – allows vapers to manually drip e-liquid onto the coil.
- RTA (Rebuildable Tank Atomizer) – combines a tank with rebuildable coils for a more convenient experience.
Each type has unique benefits, but all serve the same purpose: producing vapor efficiently while preserving flavor.
How the atomizer affects your vape experience
The atomizer’s condition directly affects the taste, vapor density, and overall satisfaction. A worn-out coil can produce burnt flavors, weaker vapor, or uneven heat distribution. Even small leaks or poor wicking can disrupt your vaping experience. Knowing your atomizer and monitoring its performance can save you from frustration and improve your sessions.
Identifying a Faulty Atomizer
How do you know when an atomizer is bad?
Recognizing a failing atomizer is crucial. Common signs include:
- Burnt taste – often caused by a dry wick or damaged coil.
- Leaking e-liquid – indicates improper assembly or worn seals.
- Device errors – such as “atomizer short” or “check atomizer” notifications.
- Poor vapor production – even with fully charged batteries.
Troubleshooting common issues
Here’s a simple way to diagnose your atomizer:
- Check the coil resistance using a multimeter or your device’s built-in reading.
- Inspect the wick and coil for burnt cotton or loose wires.
- Test with another atomizer to confirm if the issue is device or atomizer-related.
- Clean connections to ensure proper electrical contact.
These steps can often pinpoint the problem before you decide to replace or rebuild your atomizer.
Repairing and Rebuilding Atomizers
Can I rebuild my own atomizer?
Yes, many vapers rebuild their atomizers to save money and customize their experience. You’ll need:
- Replacement coils
- Cotton wicking
- Screwdrivers or coil jigs
- Tweezers and scissors for precision
Rebuilding allows control over resistance, vapor output, and flavor intensity.
Step-by-step rebuilding guide
- Remove the old coil and cotton carefully.
- Install the new coil, making sure it fits securely and isn’t touching the atomizer walls.
- Insert fresh cotton, ensuring it’s snug but not too tight for optimal wicking.
- Prime the coil with e-liquid to avoid dry hits.
- Reassemble the atomizer and test the resistance.
- Take short puffs initially to ensure even heating and avoid burning.
Rebuilding takes practice, but once mastered, it can enhance both flavor and performance.

Preventive Maintenance Tips
How to extend atomizer life
Regular maintenance keeps your atomizer performing at its best:
- Clean the atomizer every few days with warm water or specialized vape cleaners.
- Avoid dry hits by priming new coils properly.
- Use compatible e-liquids to prevent gunk buildup on coils.
Safety precautions
- Avoid short circuits by checking coil placement and connections.
- Use high-quality replacement parts to prevent leaks and electrical issues.
- Store your vape properly, away from extreme heat or moisture.
Following these steps not only improves flavor but also prolongs the lifespan of your atomizer.
When to Replace Your Atomizer
Signs it’s time for a replacement
Even with maintenance, atomizers eventually wear out. Replace yours if:
- Cleaning and rebuilding no longer restore performance.
- You notice persistent burnt or metallic tastes.
- Electrical issues continue despite troubleshooting.
Choosing the right replacement atomizer
Selecting a compatible atomizer is key:
- Match resistance with your device’s recommended range.
- Consider brand and build quality – reputable manufacturers often last longer.
- Choose the type that suits your vaping style (RDA for flavor, RTA for convenience).
Replacing the atomizer at the right time ensures a safe and enjoyable vape experience.
Conclusion
Fixing a vape atomizer may seem daunting at first, but with proper knowledge, tools, and maintenance, it becomes straightforward. By understanding how your atomizer works, recognizing issues early, and knowing when to rebuild or replace it, you can enjoy consistent flavor, smooth vapor, and a longer-lasting device. Take care of your atomizer, follow the maintenance tips, and your vape will reward you with better performance every time.